Finding Furniture to Restore: Where & What to Look For
Before you buy or pick something to restore, you want pieces that have good bones—structure that’s intact or fixable, materials that are salvageable.
Places to look:
-
Thrift stores / secondhand shops
-
Garage sales / estate sales
-
Online marketplaces: Facebook Marketplace, Craigslist, OfferUp
-
Curbside / freebie listings (if you can transport)
-
Family & friends’ hand-me-downs
When checking pieces, bring a flashlight if possible; examine closely.
What to inspect:
-
Is the frame solid? Legs not wobbly, joints not loose or broken.
-
Is there rot, insect damage, or serious warping?
-
Is the wood veneer damaged? Veneer is thin, can chip or lift, more difficult to repair.
-
What is the current finish (paint, varnish, laminate, etc.)? Some finishes are easy to strip or paint over; others are more involved.
-
Is upholstery involved? If so, is the padding/frame in okay condition? Replacing upholstery is more work.
What Kinds of Furniture Is Easier vs More Complex
Some furniture is “friendlier” for DIY restoration. Others require more specialized skill, tools, or time.
Easier projects:
-
Solid wood tables, end tables, side tables (flat surfaces)
-
Wooden chairs without upholstery or with simple upholstery
-
Dressers, cabinets with minimal veneer damage
-
Furniture with simple design lines (no deep carving, few curves)
-
Pieces whose finish is peeling or old paint that’s easy to remove
More complex / advanced projects:
-
Upholstered furniture (especially antique or with complicated springs, horsehair stuffing, etc.)
-
Pieces with heavy carving or ornate mouldings (stripping paint or varnish from carved detail is tedious)
-
Veneered furniture with significant veneer missing or cracked
-
Pieces with serious structural damage (rotted legs, water damage, insect infestation)
-
Antique restoration where value depends on preserving period finish/materials
Step-by-Step Furniture Restoration Process
Here’s a flow of the restoration process. Depending on the piece, you might skip or combine some steps.
1. Planning & Assessment
-
Pick your piece. Photograph it from all sides.
-
Identify materials: what kind of wood (hardwood vs softwood), whether there’s veneer, whether hardware (hinges, knobs) is reusable.
-
Set goals: Do you want a full refinish, or paint & distress, or just surface clean and polish? Do you want to preserve vintage character or modernize?
-
Estimate time and cost. Include tools, materials, finishes, hardware, etc.
2. Prepare Your Workspace
-
Choose a well-ventilated area (outdoors or with fans/windows) because many finishes, strippers, and paints are smelly and can produce hazardous fumes.
-
Lay protective covering: drop cloths or plastic sheeting on floor, a sturdy workbench or saw horses.
-
Gather safety gear: gloves, respirator or mask (for dust and chemicals), safety glasses.
3. Disassembly & Cleaning
-
Remove hardware (knobs, hinges, pulls). Label or bag pieces so you know where they go.
-
Remove drawers, doors, cushions, upholstery if you plan to redo them.
-
Clean thoroughly: dust, grime, grease. Use mild detergent or deglosser. Sometimes TSP (trisodium phosphate) works but use with caution.
4. Repair & Structural Restoration
-
Fix loose joints: apply wood glue, use clamps to hold until dry. For more serious joint issues, you may need to tighten with screws/dowels or replace broken parts.
-
Fill cracks / gouges: use wood filler or epoxy in deeper damage. For veneer patches, use matching veneer or wood pieces.
-
Deal with damage: water stains, rot, insect holes. Rot may require wood hardeners or even replacing a section.
5. Stripping or Removing Old Finish
-
If finish is worn, peeling, or multiple layers of paint/varnish, you might strip back to bare wood. Methods:
-
Chemical strippers (liquid or gel)
-
Heat / infrared tools
-
Sanding (power sander or manual)
-
-
Be careful: stripping can damage delicate wood, carvings, or veneers.
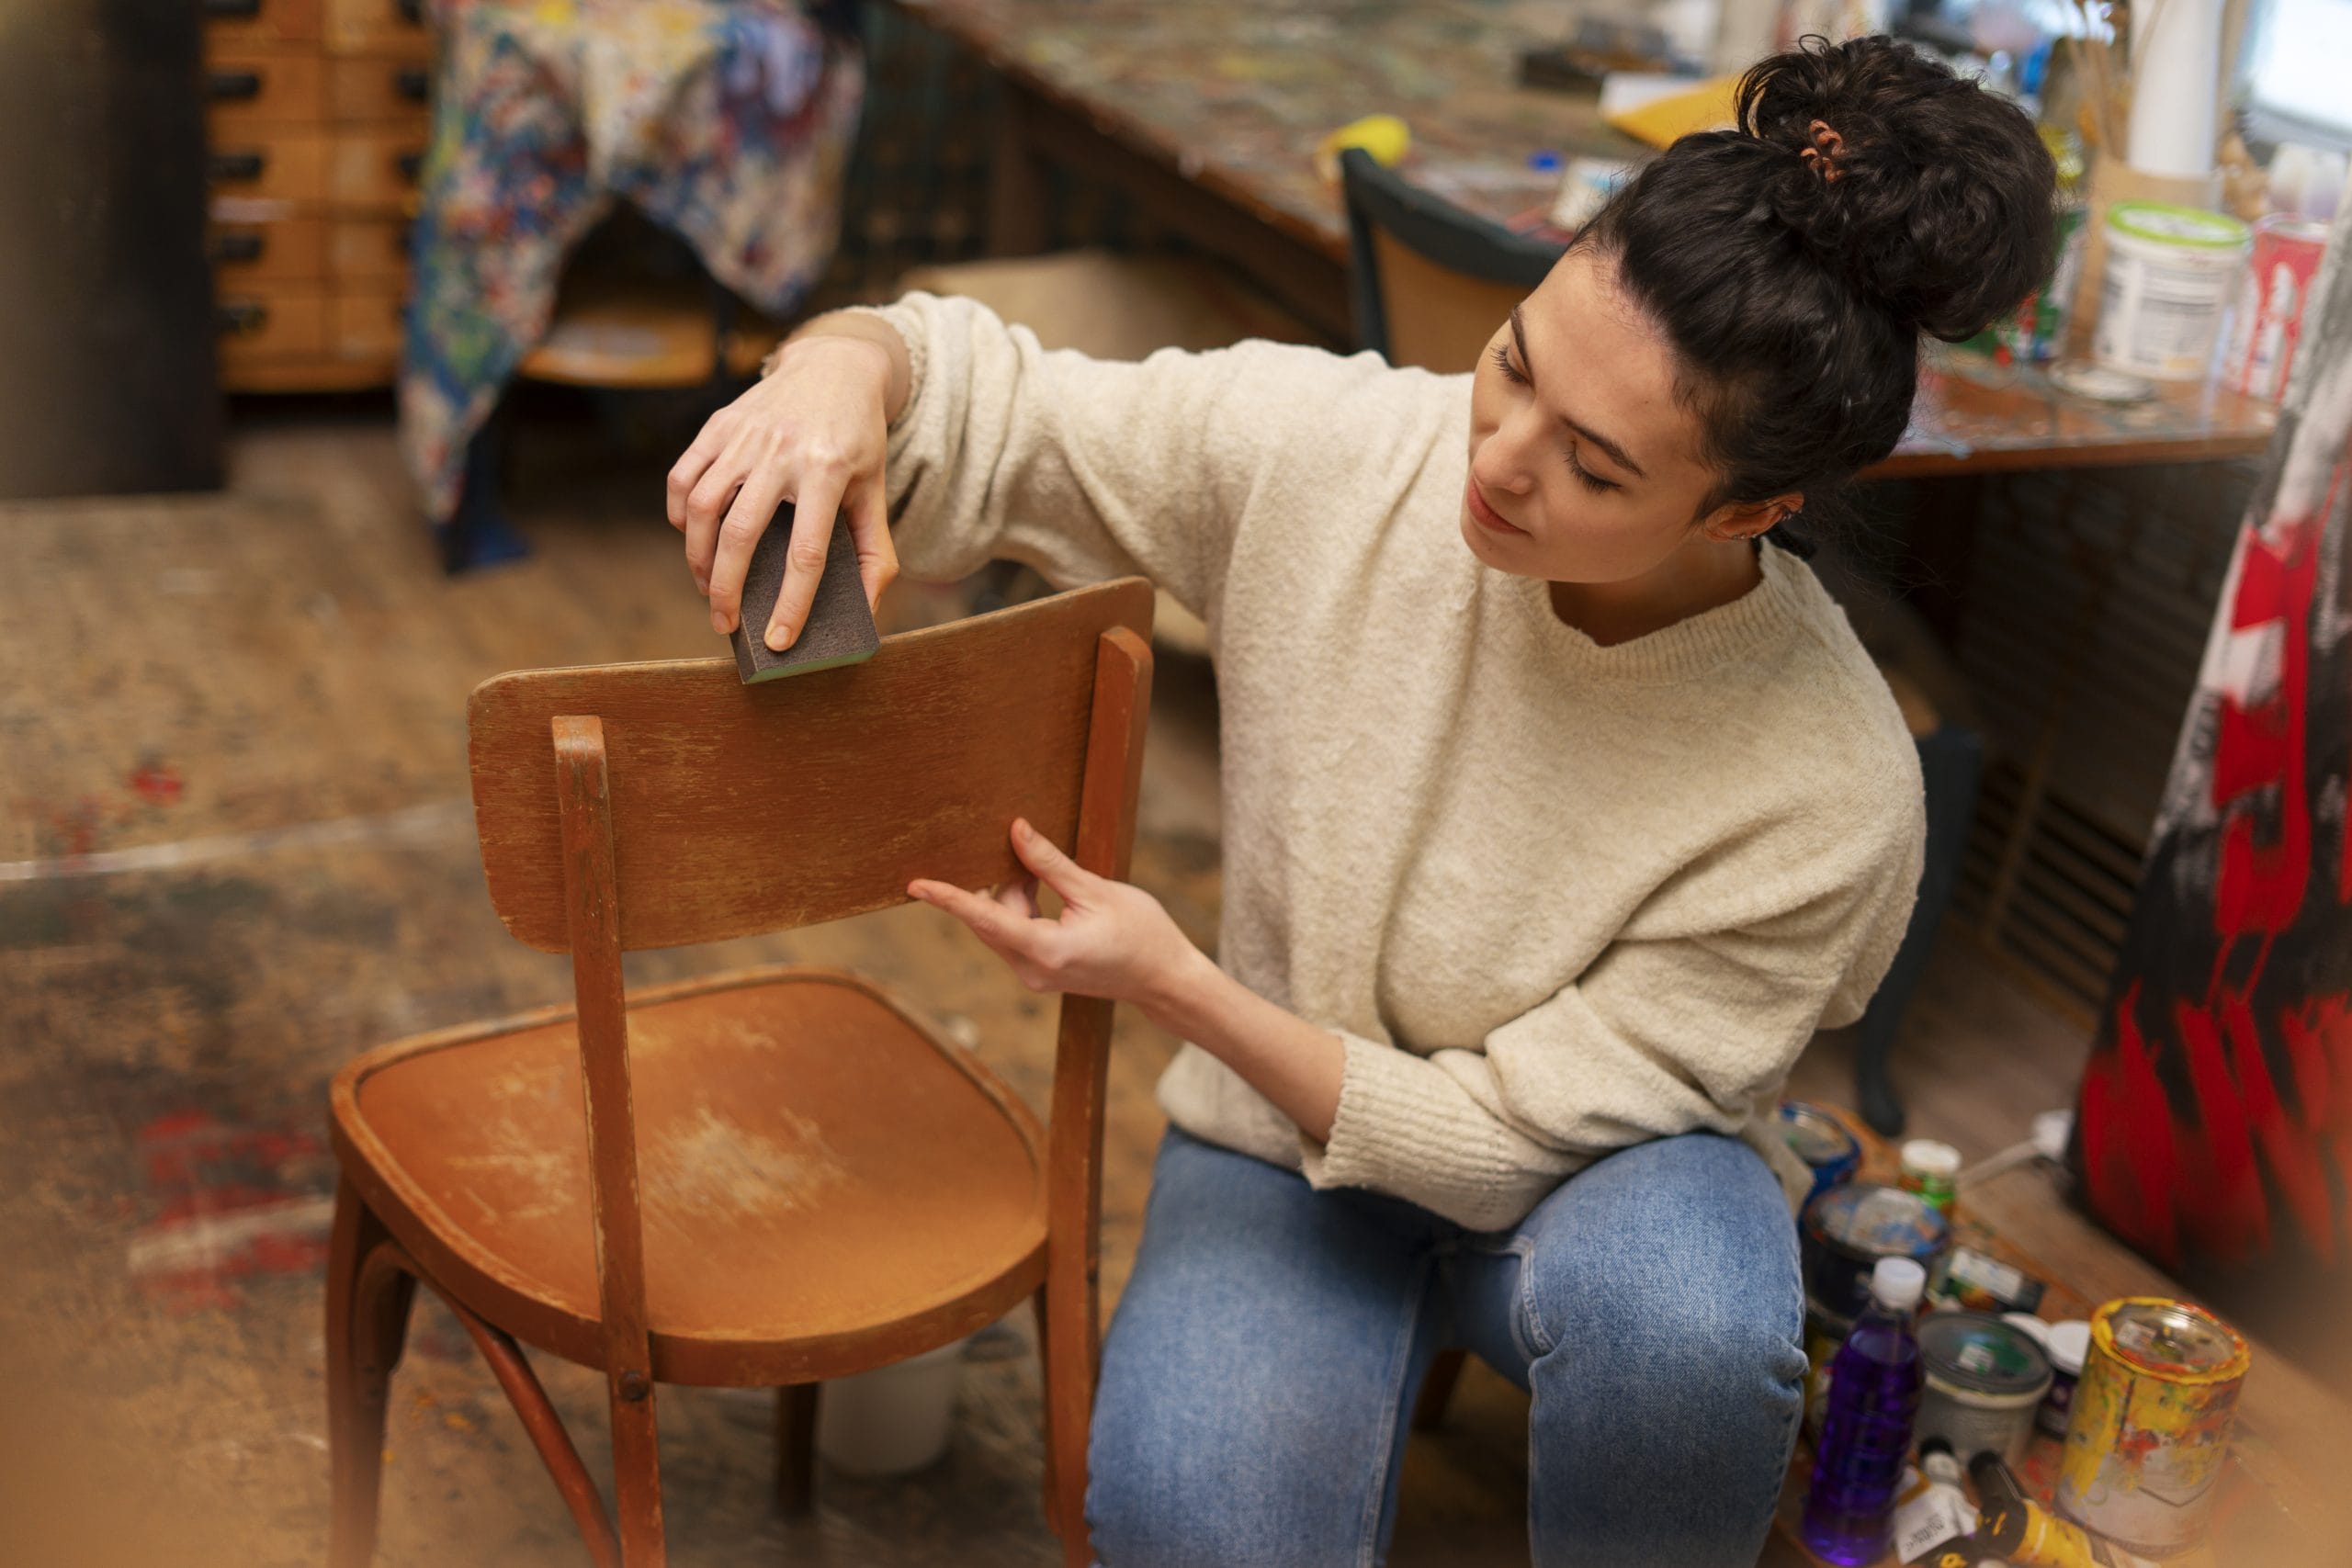
6. Sanding & Smoothing
-
Start coarse grit to level surfaces or remove old finish (80- to 120-grit usually).
-
Progress to finer grits (150, 220, maybe even 320) for a smooth finish.
-
Sand with the grain; avoid swirl marks. Use palm/detail sanders on curved or tight areas.
7. Stain / Paint / Finish
-
If staining: apply conditioner (especially on soft woods) so stain goes on evenly. Wipe off excess. Let dry. Then apply sealers.
-
If painting: use primer if needed (especially over bare wood or previous dark finishes), then paint in thin coats. Let each coat dry. Possibly distress or add decorative touches.
-
Finish with topcoats: Polyurethane, varnish, shellac, wax, lacquer, or oils depending on desired sheen and durability.
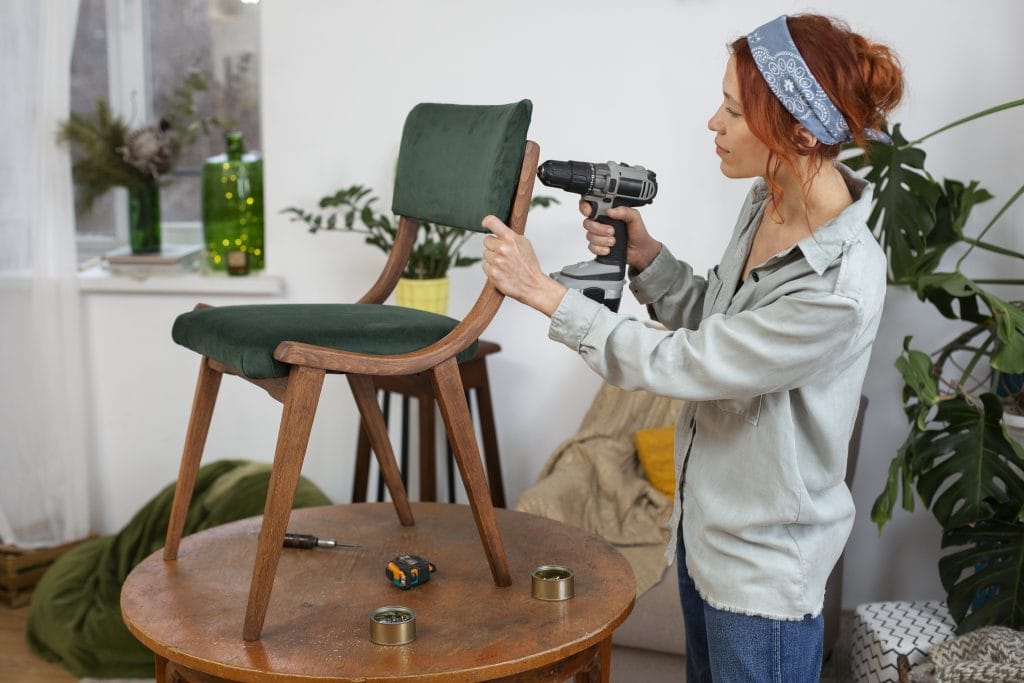
8. Reassembly & Final Touches
-
Re-attach hardware. Sometimes updating hardware (new knobs, pulls) makes a big difference.
-
Reupholstery, if needed: replace fabric, padding. Stretch fabric properly, staple or tack well.
-
Final clean: wipe off sawdust, re-buff waxed surfaces, do any touch ups.
Products & Tools You’ll Use
Here are some example tools, supplies, and kits you might want. These are products that do well for furniture restoration. You don’t need all of them to start, especially for simpler projects. Pick what matches your project’s complexity.
Here are some highlighted picks, what they do, and when you’d use them:
-
BLACK+DECKER 1/4‑Sheet Detail Sander: Great for getting into flat surfaces, smoothing out finish after stripping, or final sanding before painting or staining. If you’re working on tabletops, doors, or drawer faces, this helps speed things up.
-
Abatron Wood Restoration Kit (LiquidWood + WoodEpox): Use this for more serious damage: rotted or missing wood, gouges, deep cracks. It repairs and fills; good when filler alone isn’t enough.
-
Soto 7‑Color Wood Repair & Stain Kit: Handy when your piece has multiple stain or finish colors, or when you want to match scratches and worn edges without refinishing the whole thing.
-
Minwax Antique Furniture Refinisher Pack: For antique wood finishes where you don’t want to sand off everything. This refinisher helps revive old patina without removing all of it.
-
CountryChic Painters Painting Starter Kit: If you plan to paint, especially decorative painting or distressing, this kit gives brushes, waxes, paints to get started.
-
Furniture Clinic Weatherized Outdoor‑Furniture Kit: For garden furniture or any pieces exposed to weather—restoring color, cleaning greyed wood, protecting it from further damage.
-
Restor‑It Touch Up Furniture Kit: Smaller touch ups—shelf edges, scratches, chips. Good for more minor work, or keeping a piece looking good.
-
FolkArt 5‑pc Wood Grain/Distress Tool Kit: If you want distressing, texture, or wood grain effects, this gives you tools to get creative finishes.
Mistakes & Pitfalls to Avoid
Restoration is rewarding, but there are some common mistakes that first-timers (and even some intermediates) often make. Watch out for these:
-
Skipping inspection or underestimating damage
You might buy a piece thinking it’s salvageable, but once you get started you find hidden rot, insect damage, or warped wood. Always check carefully: flip it, look under, check joints.
-
Over-stripping or aggressive stripping
Especially on antique or veneer pieces: removing too much finish can damage veneered surfaces, carvings, or reduce value if you’re trying to preserve original patina.
-
Poor sanding technique
Sanding across the grain, using too coarse grit for too long, or skipping grits can leave scratches or swirl marks visible under finish.
-
Using incompatible finishes
For example, applying a polyurethane that doesn’t adhere well over certain paints or existing finishes without proper prep. Or using high-VOC finishes indoors without adequate ventilation, which is unsafe.
-
Rushing between steps
Not letting glue dry fully, rushing paint layers, or applying finish in humid or cold weather—all these can cause poor adhesion, bubbles or uneven finish, or even peeling later.
-
Over-distressing or over-decorating
Sometimes less is more. If you distress too much, you may lose the character you want, or the piece might look overworked.
-
Neglecting safety
Chemical strippers, dust from sanding, varnish fumes—these can be dangerous. Always wear respirators/masks, gloves, and use protective eyewear. Ventilate.
Upcycling in Action: More Than Restoration
Upcycling takes restoration a step further. Instead of trying to bring something back to its original appearance, you might:
-
Change function: Example – convert old dresser into bathroom vanity, or turn kitchen chairs into a bench.
-
Transform aesthetics: Use bold paint colors, stencils, decoupage, mixed materials (metal + wood), contrast hardware.
-
Repurpose parts: Maybe the frame of one piece becomes the base of another. Or legs are reused, or doors become wall panels.
Upcycling benefits include the ones mentioned earlier (ustainability, cost, style), but also:
-
Flexibility: you can tailor something exactly to your space and style.
-
Fun & creativity: it becomes part art project.
-
Value increase: a well-upcycled item often can be sold or displayed for more than the sum of its parts.
Detailed Example: Restoring a Wooden Dresser
Here’s how this all plays out in a real example—say you find a used wooden dresser with peeling paint, some gouges, original hardware, no serious rot, decent structure. You want to restore it to something modern, maybe paint it, and use it in a bedroom.
-
Assessment: Check drawers slide well, legs are solid, wood isn’t warped. Note how deep gouges are, whether there are water stains, whether top finish is peeling. Remove hardware to see how it looks underneath.
-
Workspace prep: Move it outdoors or into a garage with good ventilation. Lay down tarp or drop cloth. Wear gloves, mask. Pull out tools.
-
Disassembly & Cleaning: Remove drawers and hardware. Clean with mild detergent, perhaps TSP wipe down if there’s grease. Let it fully dry.
-
Repair: Fill gouges with wood filler; for deeper damage, use an epoxy repair kit (like the Abatron kit above). Glue any loose joints, clamp until dry.
-
Stripping old finish: If paint is peeling or thick, use chemical stripper for painted surfaces or sand down using a sander. For carved parts or edges, use hand scrapers or detail sanding.
-
Sanding: Start with coarser grit (say 80-100) to remove old finish or flatten areas. Move to 150, then 220. For final finish, hand-sand with very fine paper. Make sure edges & flat panels are smooth.
-
Priming & Paint (if you’re painting): Apply primer (especially if changing from dark to light color, or painting bare wood). Let dry. Apply two thin coats of paint, allowing drying between coats. Possibly distress edges slightly if desired.
-
Hardware & Finishing: Clean or polish hardware; consider replacing if outdated. Apply protective finish or sealant (if painting, maybe wax or polyurethane over paint; if staining, topcoat). Reassemble drawers, reattach hardware.
-
Final touches: Buff or wax, do any touch-ups. Clean up workspace. Step back, admire your work!
Time & Cost Expectations
-
Time: A simple piece (small table or chair) might take a weekend (including drying times). More complex or large pieces (dressers, wardrobes, upholstery) might take several days to a week or more.
-
Cost: Depends heavily on materials & tools needed. If you already own basic tools (sanders, brushes, clamps), cost may be just finish materials and hardware (perhaps $30-$150). If buying power tools or kits or dealing with large pieces, cost can be more. The investment in tools pays off if you plan multiple projects.
Mistakes & Case Studies: What Can Go Wrong
It helps to see specific pitfalls so you can avoid them.
-
Case: Veneered tabletop that was stripped aggressively with belt sander → result: burned through veneer or uneven patches. Fix: better use hand sanding & careful stripper for veneer areas.
-
Case: painted piece in cold, humid weather, applying paint without primer → paint peeling off in weeks. Fix: ensure temps are suitable, use primer, allow drying well.
-
Case: using water-based finish over oil-based stain without proper drying time or sanding → blotchy finish, adhesion problems. Fix: follow manufacturer’s instructions; sometimes a bonding sealer between layers helps.
-
Case: hardware reattached but holes misaligned → drawers don’t close, doors swing. Fix: measure carefully, possibly drill new holes, use proper screws; don’t force misaligned parts.
Tools & Equipment You’ll Grow Into
At the start, you really only need basic hand tools: screwdrivers, hammer, clamps, sanding block, some sandpaper, brushes, wood filler. As you take on more complex restoration, you might want:
-
Power sanders (orbital, detail)
-
Dremel or rotary tools for carving / detail work
-
Heat tools / infrared paint removers
-
Spray gun or HVLP sprayer (for paint or lacquer)
-
Upholstery tools: staple gun, webbing, foam, piping
-
Specialty clamps, router, planer
As with any skill, start simple. Each new tool you add should match a need.
Upcycling vs Traditional Restoration: Which Path to Take
Choosing between restoring something “as original” vs upcycling depends on your goals:
-
If it’s an antique or a piece with heirloom value, you might want to preserve original finish, original hardware, etc.
-
If original style doesn’t matter (you like modern or eclectic), upcycling gives you creative freedom—to repaint, refinish, repurpose.
-
Upcycling often has more flexibility with cost, style, time; traditional restoration may need more patience, attention to detail, often more expensive materials or finishes, especially if matching period pieces.
Putting It All Together: A Checklist for Your First Full Project
Here’s a suggested flow to use for your first full furniture restoration / upcycling project:
|
Stage |
What to Do |
Key Questions |
|---|---|---|
|
Pick & Remove |
Find piece, move, remove hardware, clean |
Is transport feasible? Are parts intact? Is finish removable? |
|
Inspect & Repair |
Fix structure, fill holes, deal with damage |
Are joints solid? Is there rot? Will repairs show? |
|
Prep & Strip |
Strip old finish, sand rough spots |
Will stripping damage veneer? What finish is under paint/varnish? |
|
Finish or Paint |
Choose stain or paint; apply in thin even layers |
Does color suit decor? Do I need primer or conditioner? |
|
Topcoat & Protect |
Apply sealer, wax, varnish; reassemble |
Will finish hold up? Is it safe for intended use (kitchen, outdoors, etc.)? |
|
Touch-ups & Maintenance |
Final clean, polish, possibly distress, check smile-factor |
Does hardware match? Are drawers/doors aligned? |
Furniture Restoration isn’t just about sanding and paint—it’s about seeing potential in something old, learning how wood, finishes, and structure work, and applying patience and creativity. You will absolutely run into setbacks—skipped steps, mis-matched finishes, unexpected damage—but each one teaches you something.
Start with easier projects, build your tool kit and confidence, try small paint or stain jobs first. Use the products above when needed. Keep safety in mind. Most of all, enjoy the process. When you sit back and use something you restored yourself, there’s nothing quite like it.
If you like, I can provide a printable version of this guide, or even template project plans (with cost & time estimates) that your readers can download. Would you prefer that along with this article?